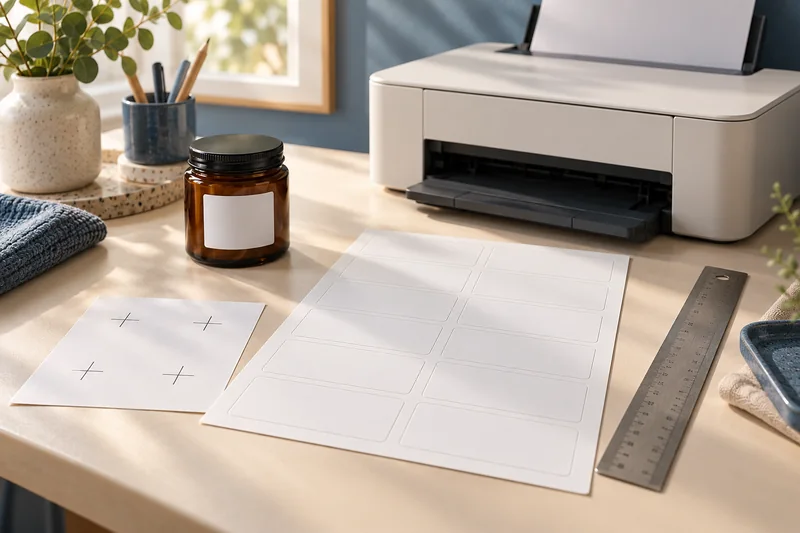
Measure matching reference points near the beginning, middle and end of one axis on a plain-paper proof. I would use the Label Alignment Diagnoser to separate a constant shift from changing scale or non-linear behaviour. Do not “fix” a wrong paper size by nudging every label individually.
On this page
Our recommendation
I would keep the template unchanged until the proof identifies the failed stage. Use the measured pattern to choose the next test, then confirm on plain paper before loading a fresh compatible label sheet.
Set up a meaningful proof
Confirm the exact label product, template and page size first. Avery’s guidance recommends a plain-paper test and 100% or Actual Size output. Mark the feed direction and measure from the same sheet edge to the same feature in the template and printed result.
Use a ruler or measurement method precise enough for your chosen tolerance. Do not mix a label edge with a text baseline between readings. If the paper is skewed, measure the second axis or repeat the feed test before treating the result as a simple scale problem.
Interpret the pattern carefully
The tool fits measured position = scale × expected position + offset using the first and last points. The optional middle measurement checks whether that straight-line model explains the page. It is a diagnostic approximation, not an instruction to apply its scale value directly as a driver correction.
A broadly constant error suggests checking placement or a supported template adjustment. An error that grows across the page suggests checking scaling and feed behaviour. A large middle residual suggests the two-point model is insufficient or the measurements need checking. Repeat a plain-paper proof after one change.
A worked measurement
Expected positions are 20, 140 and 260 mm; measured positions are 22, 143 and 264 mm. The endpoints imply about 100.833% scale and 1.833 mm offset, with zero middle residual for these example readings. Check page size and scaling before moving label artwork, because a simple two-millimetre nudge would not remove the changing error.
Before you act
- Measure the same feature from the same edge.
- Check template and page size before offsets.
- Repeat after one deliberate change.
Use the Label Alignment Diagnoser to apply the guide to your own setup.
Keep exploring
- Label alignment: distinguish a constant offset from scale drift
- Actual size or Fit? Choose PDF print scaling by the job
Sources and research notes
Research checked on 21 October 2026. Product specifications are manufacturer statements; examples and buying judgements are our analysis. No hands-on product test is implied.
Separate offset, scale and a bowed middle point
Use the three marks on our A4/Letter control sheet. Measure all positions from the same left sheet edge to the cross centres. Enter expected positions 20, 100 and 180 mm in the diagnoser. These three illustrative data sets show why a single alignment adjustment is not always enough.
Constant offset: measured 22, 102 and 182 mm yields 100% fitted scale, +2 mm offset and zero middle residual. The gaps between marks stayed correct. Check origin and centring before changing scale.
Scale change: measured 19.4, 97 and 174.6 mm yields 97% scale, zero fitted offset and zero middle residual. This is a constructed numerical example, not a result measured on a printer. First remove unintended scaling in the print path.
Middle deviation: measured 20, 103 and 180 mm yields 100% endpoint scale but +3 mm middle residual. With a 0.5 mm review tolerance, the tool flags a nonlinear pattern. Repeat the measurement and investigate the feed or a distorted original; a two-point correction would conceal the middle error.
Tolerance is your measurement/review threshold, not a claimed printer specification. Recalculate after changing inputs; the downloadable record must represent the latest numbers. No measurement values are uploaded.
Digital checks: page boxes, vector dimensions and SHA-256 checksums · generation and verification script. The script requires Python, ReportLab and pypdf. The files were generated on November 9 and published after review on November 10, 2026. These are digital checks, not physical printer tests.
Build on what you just learned
Your next useful step.
Separate the right stock from the right scale.
Print sheet labels without avoidable feed and alignment mistakes
Check both the printer and the label maker before loading adhesive sheets. Use the exact label product’s intended printing technology, its template and the…
Read the guide →
A part-used label sheet is not an ordinary blank sheet
I would avoid feeding a part-used sheet back through the printer unless the exact label and printer instructions explicitly support it.
Read the guide →