Keep the QR symbol’s clear margin, print it at the intended size and test the finished label on the actual object. I would prioritise a clean, high-contrast code and a stable destination over decorative changes. A successful scan from a large screen preview does not prove a tiny printed label will work.
On this page
Our recommendation
I would use a simple code with a human-readable fallback and a destination you can maintain. Approve the physical applied proof before a large label run.
Preserve the symbol and its space
DENSO WAVE’s QR Code guidance specifies a four-module quiet zone around a regular QR symbol. Keep that margin clear of text, borders and artwork. This is distinct from a general page margin or the label’s cut line. Do not apply a rule for a different barcode type without checking its specification.
Use an appropriate export that retains crisp module edges at the final size. Avoid stretching one axis or applying a soft image filter. More encoded content can create a denser symbol, so keep the destination purposeful and check what the code actually contains.
Test the applied label
Print a plain proof for size and placement, then a small supported label sample. Apply it to the intended flat or curved surface and test under expected lighting with more than one relevant device where possible. Gloss, curvature and nearby graphics can change the practical result.
Open the decoded destination and verify that it is the intended page, works without an unexpected account requirement and remains useful on mobile. If using a redirect or dynamic-code service, understand its ongoing conditions before printing a permanent batch. Keep private data out of a public code unless sharing it is deliberate.
A component-inventory link
A QR label points to a public instructions page rather than embedding a home address or private inventory. Print it at the actual label size, preserve the quiet zone and test it after application. Then type or open the destination separately to verify that the link remains readable if the code cannot be scanned.
Before you act
- Keep the correct quiet zone clear.
- Test final size, surface and lighting.
- Verify the destination and any ongoing service dependency.
Use the Label Alignment Diagnoser to apply the guide to your own setup.
Keep exploring
- Print sheet labels without avoidable feed and alignment mistakes
- Measure label alignment at three points before changing the template
Sources and research notes
Research checked on 21 October 2026. Product specifications are manufacturer statements; examples and buying judgements are our analysis. No hands-on product test is implied.
Build on what you just learned
Your next useful step.
Separate the right stock from the right scale.
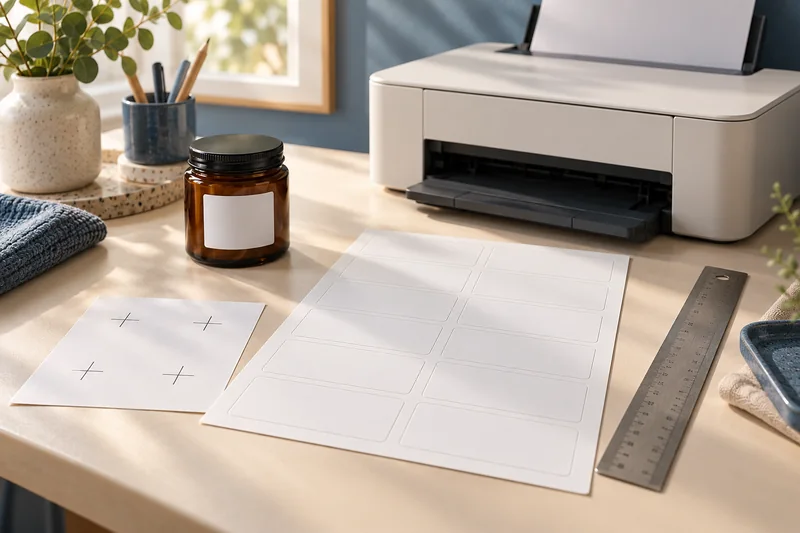
Measure label alignment at three points before changing the template
Measure matching reference points near the beginning, middle and end of one axis on a plain-paper proof.
Read the guide →A part-used label sheet is not an ordinary blank sheet
I would avoid feeding a part-used sheet back through the printer unless the exact label and printer instructions explicitly support it.
Read the guide →