Short answer: The sheet dimensions describe the paper; the printable area describes where the chosen printer and mode can put an image. Match document, driver and loaded sheet sizes before changing scaling or borderless settings.
On this page
Apply the guide to your own configuration
For cropped edges, compare document size, loaded stock, driver size and printable area in that order. A correct booklet sequence does not prove the content fits inside the supported print rectangle.
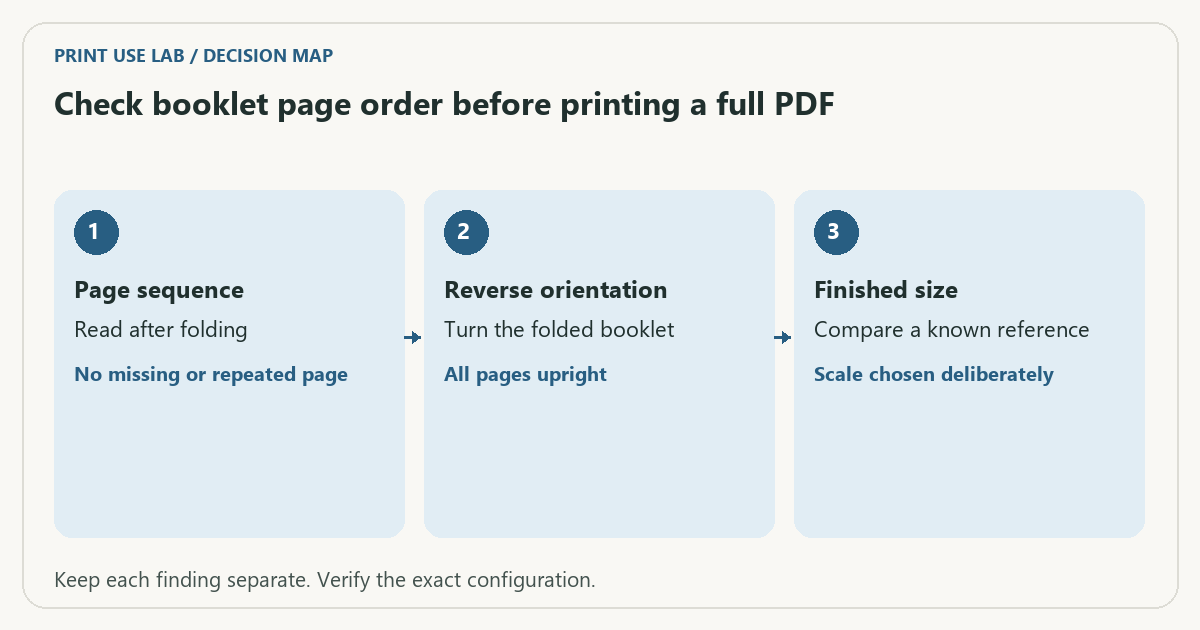
For a more specific worked case, read Check booklet page order before printing a full PDF. It includes an original diagram, a decision table and an editable record. Download its worksheet or open the print-job workbook.
Review note — October 21, 2026: Added this configuration check and the linked practical resource. Earlier documentary guidance remains below; no physical test has been added.
Research guide · Sources checked October 18, 2026. The procedures and examples below are planning aids, not results from a hands-on product test.
Separate the four sizes in the workflow
Write down the document page size, the physical paper size, the size selected in the print dialog and the intended finished content size. A Letter document sent to an A4 queue can trigger scaling or crop content depending on the application. A correct paper size still does not mean ink can reach every edge.
| Term | What it controls |
|---|---|
| Paper size | The physical sheet width and length |
| Printable area | The area available in a specific printer mode |
| Document margins | Blank space defined by the authoring app |
| Scaling | How the document is resized at print time |
| Borderless expansion | How some borderless modes enlarge an image beyond the edge |
Epson’s WF Pro documentation, for example, specifies margins and shows different values for some driver routes. It also warns that borderless expansion can reduce quality near the expanded area. Use that as evidence that mode matters, not as the margins for your own printer.
Diagnose a clipped document in a stable order
- Open print preview and confirm the document’s intended page size.
- Check the selected printer instance and loaded paper size.
- Select the correct size and orientation in both the application and driver where applicable.
- Check the exact model’s printable-area or borderless table for the media and mode.
- Choose actual size or fit deliberately; inspect the preview before printing one supported test page.
For ordinary forms where the full content matters more than exact scale, fitting inside the documented printable area may be suitable. For templates, labels and dimension-critical work, scaling changes the finished size. Use a correctly designed document and supported margins instead of silently choosing “fit.”
Calculate a margin example without claiming universal limits
Hypothetical example: a Letter sheet is 215.9 × 279.4 mm. If a particular documented mode required 3 mm on every edge, the available rectangle would be 209.9 × 273.4 mm. Subtract the left and right margins from the width, and top and bottom from the height. The 3 mm value here is an illustration; your printer can have different or asymmetric margins.
A design that fills the physical sheet can exceed that rectangle even when all size menus say Letter. Reducing the content slightly can preserve it, but changes the dimensions. Record that change if you are printing a pattern, a measuring aid or an address-label layout.
Treat borderless photos as a different decision
Borderless printing often aims to fill the sheet rather than preserve every pixel. Check whether the driver offers an expansion control and what the manual says about it. Keep faces, captions and other essential details away from the edge of a full-bleed design. If the entire image must remain visible, use a supported bordered layout and trim only when that suits the task.
For dimensions use the paper dimensions reference. For layout-specific checks see sheet label alignment and home photo printing. Do not diagnose missing edges by running cleaning cycles when preview already shows the crop.
Sources and scope
- Epson: printable area specifications — Specific WF Pro family example; margins and driver behavior are not universal.
Continue with your next check
Build on what you just learned
Your next useful step.
Proof the page, binding edge and reading order.
A filled PDF prints blank fields: check the saved file and print layers
Save and reopen the filled PDF, then inspect the print preview and the viewer’s form/comment options.
Read the guide →Duplex printing: automatic, manual and binding-edge differences
Automatic duplex prints both sides without asking you to reload the sheet. Manual duplex requires a documented reinsertion step. Neither feature tells you whether…
Read the guide →