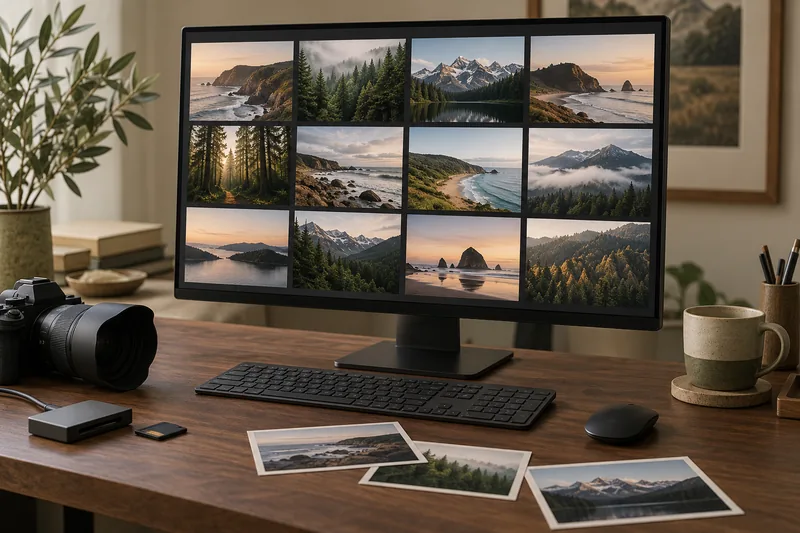
I would compare the print under sensible viewing light and check the display setup before brightening the image repeatedly. A bright screen and a dimly viewed print can encourage unnecessary corrections. Keep colour handling, paper settings and image exposure as separate variables in the investigation.
On this page
Our recommendation
I would spend first on a stable comparison and correct colour workflow. Buy a new printer or rewrite the whole image only after the current output path has been tested coherently.
Establish a stable comparison
Adobe’s colour-management guidance recommends display calibration and consistent ambient lighting. That provides a more useful starting point than setting every screen to maximum brightness. It does not establish one universal brightness number for every room, display and print-viewing condition.
Use a reference image with known useful shadow detail and a neutral area. Print through a documented paper/profile workflow and inspect it under consistent light. Avoid comparing a sunlit screen with a print in a dark corner or changing several automatic display enhancements between trials.
Change one stage at a time
Check the correct paper type and ensure colour conversion is applied in the intended place. If those settings are wrong, compensating with an exposure edit can hide the cause and spoil a later correct print. Keep the source image unchanged and make a separate output version when a print-specific adjustment is justified.
Compare a small proof after each deliberate change. Record the display setup, paper, profile and application settings. A brighter proof is not automatically more accurate; inspect highlights, midtones and shadows together rather than accepting a result solely because faces look lighter.
A controlled proof sequence
Keep the image fixed, view the existing print under the intended light and verify the paper/profile path. Then compare the calibrated display in a stable room. Only after those checks, make a small print-specific adjustment on a copy and proof the same crop. This avoids turning three unrelated changes into an unexplained “fix”.
Before you act
- Keep viewing light and display conditions consistent.
- Verify paper/profile settings before exposure compensation.
- Proof a copy and record one change at a time.
Use the Print-job workbook to apply the guide to your own setup.
Keep exploring
- Avoid applying photo print color conversion twice
- Home photo printing: paper, borderless sizes and color handling
Sources and research notes
Research checked on 21 October 2026. Product specifications are manufacturer statements; examples and buying judgements are our analysis. No hands-on product test is implied.
Build on what you just learned
Your next useful step.
Work from pixels to crop, paper and color handling.
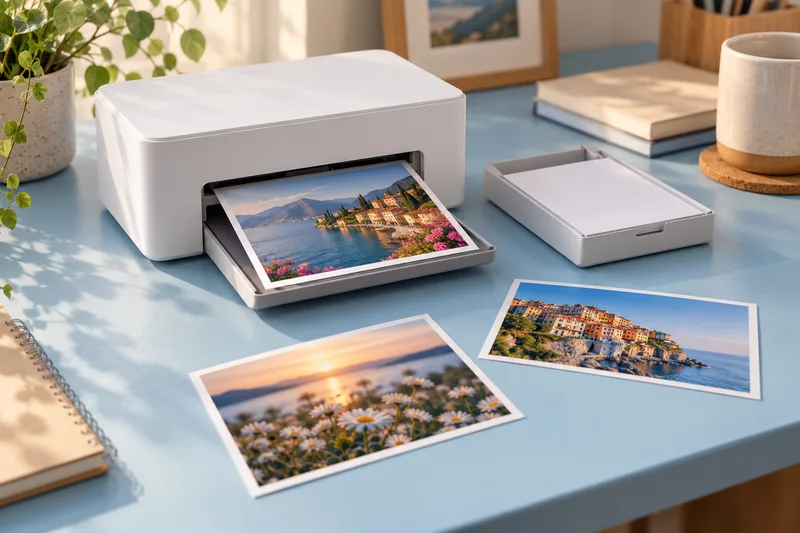
Canon SELPHY CP1500: a focused choice for small photo prints
I would choose a SELPHY CP1500 for convenient small photo prints when the supported formats and matched media packs suit the job.
Read the guide →
Home photo printing: paper, borderless sizes and color handling
Start with a photo-capable printer and a supported paper-and-size combination. Then check the crop and color settings before judging quality. A glossy surface, a…
Read the guide →